At first, you might think delving into this topic is a waste of time. All it takes to pack a cooler is tossing in the goods and topping it off with ice, right? Not quite!
Today’s ever popular rotomolded coolers can keep ice for days at a time. You can help keep the contents cold—even over an entire weekend of boating—with some thoughtful packing. The same goes for perishable food items. When packed to prevent spoilage, the burgers and chicken will be ready and safe for grilling.
Where to put all that food and drink? Just like stocking your pantry or the fridge at home, there are sensible ways to pack a cooler. When done right, the food and drink can actually add to the chill time.
Do you find yourself making multiple pit stops at the marina store to add ice to that old school cooler? It might be time for an upgrade. Rotomolded coolers—with their thicker insulation—have greater cooling benefits. They are also more affordable than ever, and make a worthwhile investment considering how often they are used on hot summer days.
Follow these tips for packing your chill chest. You will spend more time sipping a cold one, and less time—and money—keeping it iced down.
Get a head start on the chilling process before you even add the ice. Instead of storing the cooler outside in the hot boat or garage, move it inside the night before your outing. Add a sacrificial bag or two of ice and fill the cooler with water. The process reduces the core temperature of the insulation to what’s inside the cooler. The next day, drain the cooler, add the goods and ice again.
It can take over a pound of ice to cool a six pack at room temperature. Just like pre-chilling the cooler, doing the same with the contents adds even more insulation value. Make room in the fridge beside the picnic foods for the drinks, or chill them in a spare cooler or refrigerator.
You closed the “resealable” bag of sandwich meat before putting it back inside the cooler, only to find a soggy mess when you went in for an afternoon snack. There is a better option. Remove food from original packaging and repack them. You can do the same with precut veggies, fruits and other snacks. Better yet, package foods in portions according to the mouths you plan to feed. That takes up less space, while preventing your food from becoming waterlogged and inedible. Use plastic storage containers, which come in every size imaginable. You will create less trash, which can blow overboard and into the water.
Pontooners, this tip is for you and is ideal for large capacity coolers. To make it work requires using block and crushed ice, but it’s well worth the effort. Line the bottom of the cooler with a layer of block ice (substitute pre-frozen plastic ice packs for smaller coolers). Next, add a layer of closed cell foam (an old yoga mat will do), which acts as a barrier to keep food from freezing. Add the food and then top off with crushed ice. Your food will last longer and so will the party.
Remember grandma’s hand-cranked ice cream? She added rock salt to the ice cream maker for a reason. Rock salt reacts with ice to lower its melting point. That keeps the ice cream from melting too soon. For your cooler, it means slowing the melting process. Just add a handful of rock salt to the top layer of ice before you leave for the water.
If your kitchen pantry looks like a bomb went off inside the closet, take note. Organizing food and drinks in a cooler is a good idea. Arranging those items can actually keep them cooler—and safer to eat—while making them easier to find. If using a single cooler, separate the food and beverages to separate sides of the cooler. Beyond the obvious benefit of finding things easier, the chilled contents can stay cooler when stored together.
On a hot summer day, a single cooler gets a real workout as the lid continuously opens and closes for another cold one. Give it a break if cooked meals are planned by using a second cooler for perishable foods.
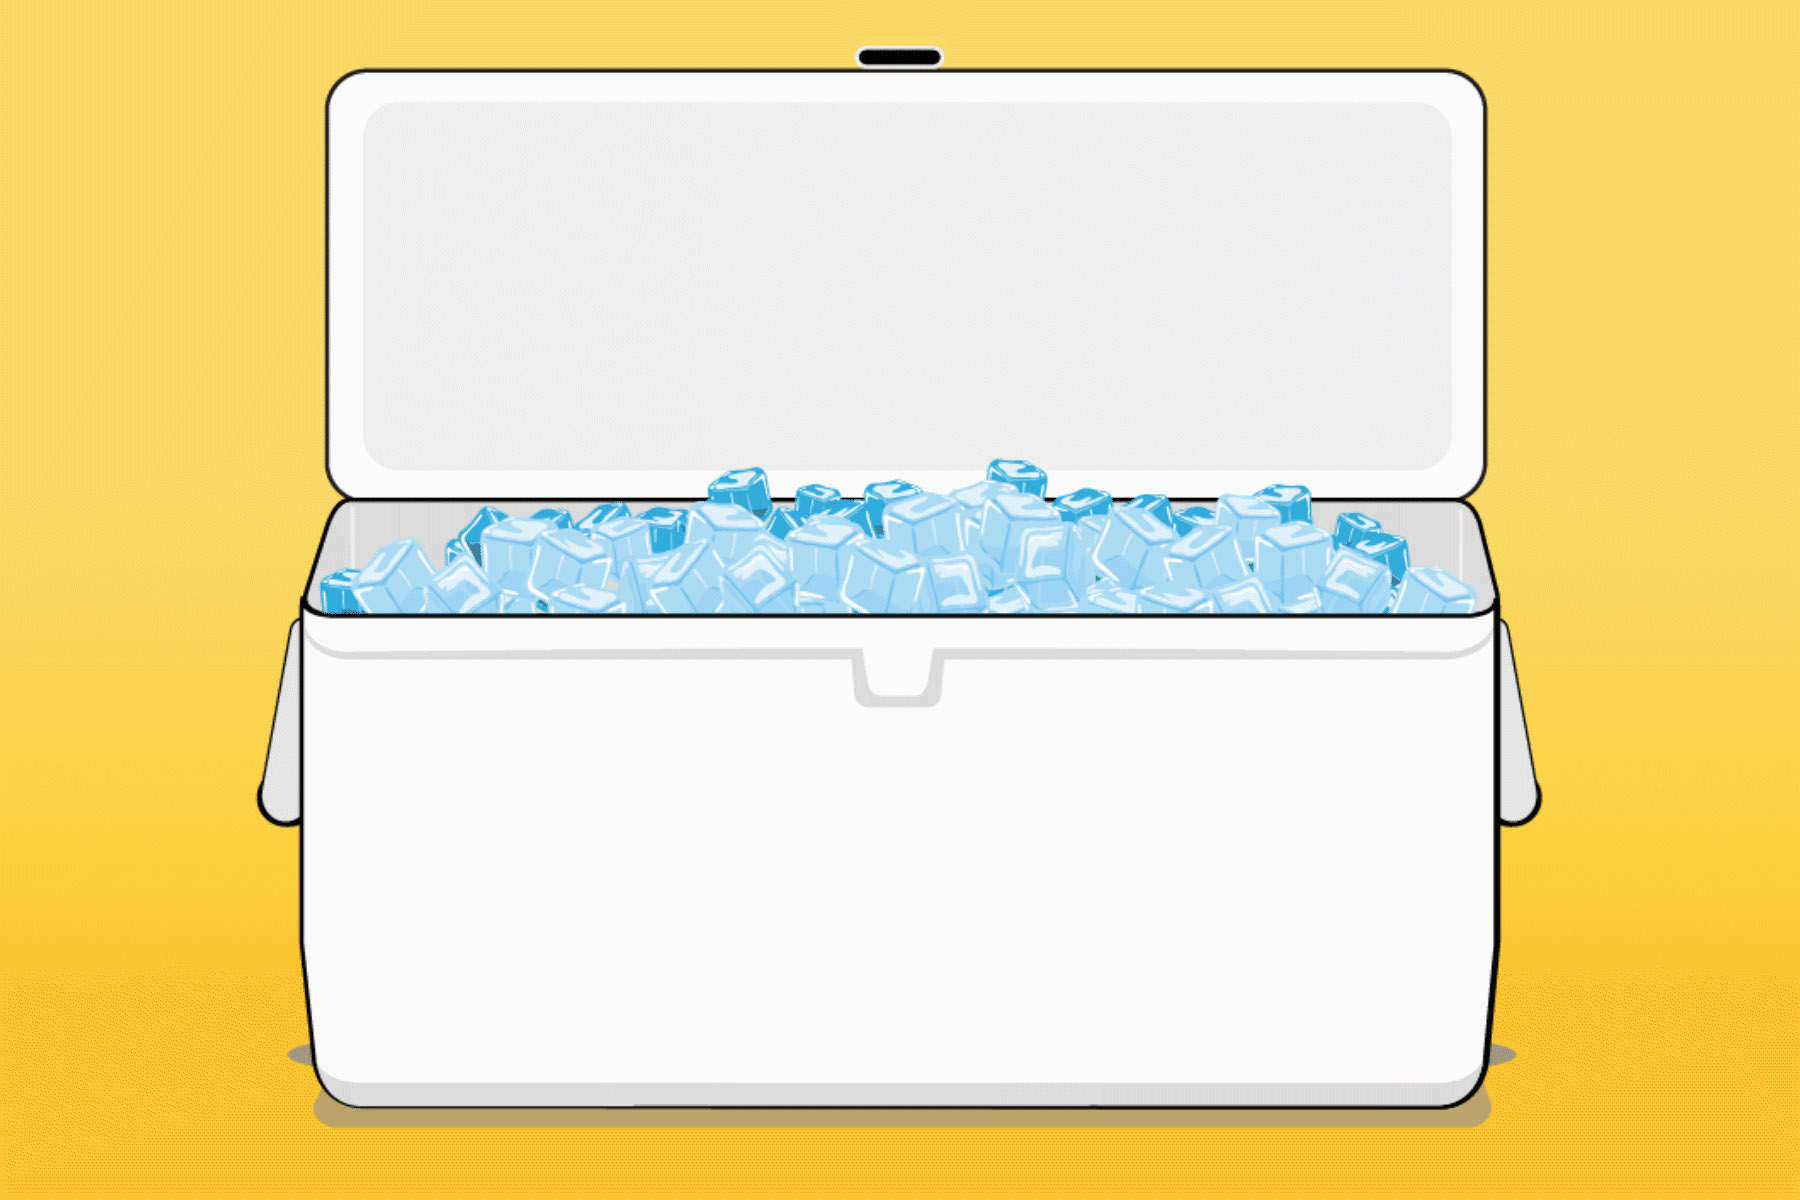
As a general rule, experts recommend a 2:1 ratio of ice to contents. However, rotomolded coolers perform better when completely filled with ice.
Sure, you must open the lid to retrieve that cold beverage. Each time you do warm air gets in, and that reacts with the ice to speed up the melting process. While on the water—and as the contents are depleted—fill in the gaps with towels to keep the cooler airtight.
As the day winds down and so does the ice, avoid the temptation to drain the cooler. The icy chill helps keep down the temperature of the insulation inside of the cooler.
The hot sun is the reason why you’ve brought along a well-packed cooler. Keep it cool and out of direct sunlight to avoid overly warming the insulation. A beach towel draped over the cooler will do if cooler storage is unavailable in your boat.


